
Leather car seats may seem tricky or intimidating to clean, but in reality it's a very simple process. The worry is that you might damage or discolor the leather with water/moisture or even harsh cleaning chemicals. If you follow a few simple steps, there is no reason to fear damaging your leather auto upholstery. I recommend reading the following instructions in their entirety before beginning the process.

Tools For Cleaning Leather Car Seats
- Bucket or container for water & cleaner
- Fresh water
- Liquid dish soap OR castile soap
- 2 soft cotton or microfiber towels
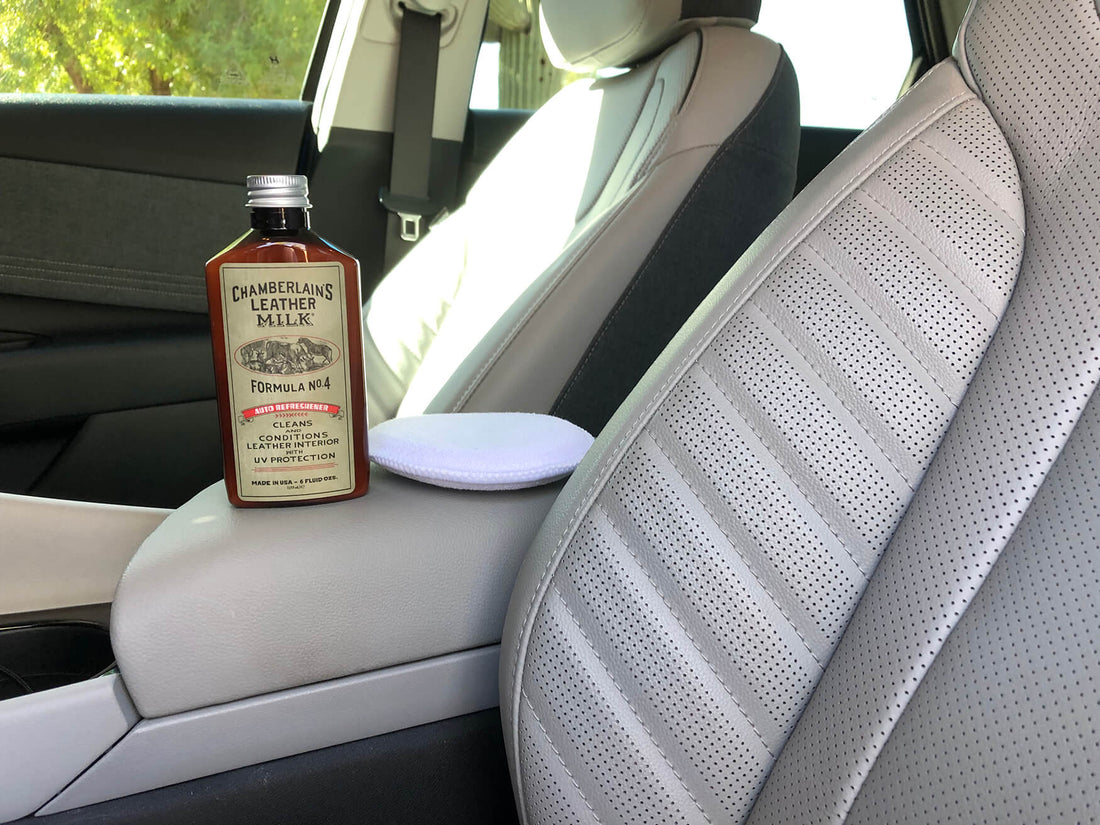
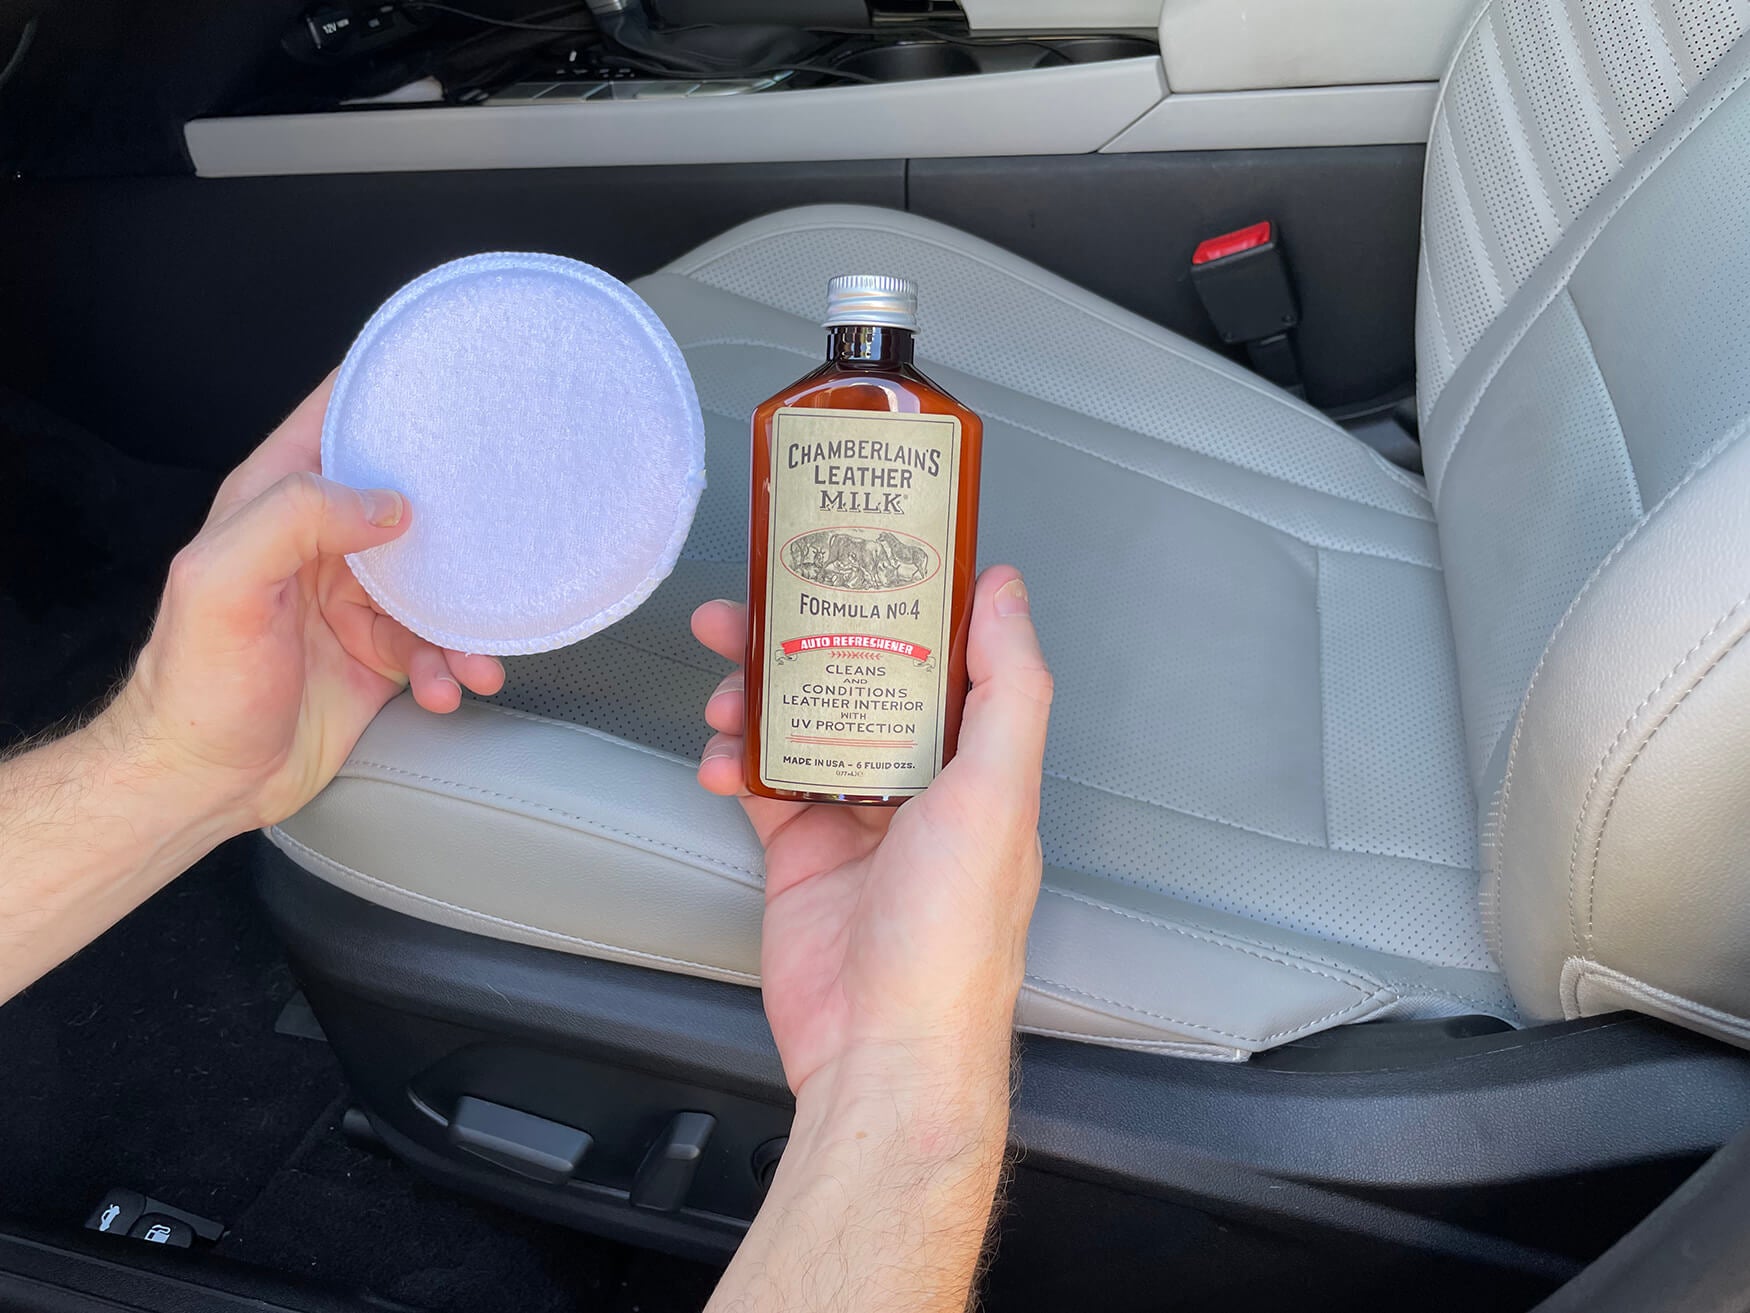
- Chamberlain's Leather Auto Upholstery Refreshener & Conditioner

Cleaning Leather Auto Upholstery
I recommend consulting the users manual for your vehicle, to be sure there are no special nuances to cleaning or conditioning your leather seats. However, most leather auto upholstery can be cleaned and conditioned the same. The first thing that you want to do is clean any dirt or grime from the leather. We'll start out with either a soft cotton towel, or a micro-fiber towel. You want to use something soft, but with some texture to grab any dirt. Grab yourself a bucket and squeeze just a few drops of either some liquid dish detergent, or a castile soap like Dr. Bronner's. You want enough to mix with the water, but not so much that it's a bubbly mess. Fill the bucket with room temperature or slightly warm water. Some folks opt to use a 50/50 mix of white vinegar and water, but I've found that the vinegar has a higher chance of discoloring the leather.

Take your towel or cloth and soak up some of your cleaning mixture, and then ring it out until the towel is just damp and not dripping water anymore. You're first going to test your cleaning solution in an inconspicuous area of a seat, such as the front facing surface of the driver's seat. Begin scrubbing in a circular motion, stop and let any excess water dry, and then inspect the area to be sure you like the results. If all is well, you can begin cleaning your seats.

Now remember to get your cloth damp, not sopping wet. Clean all surfaces of the leather in a brisk circular motion. Avoid continuously rubbing in a single area for too long, as you're trying to avoid having the leather absorb a ton of water and soap. Similar to fabric, leather consists of tiny little fibers, and scrubbing in a circular motions causes them to stand and be cleaned from multiple angles. Occasionally re-soak your cloth, and ring out the excess to remove dirt from the cloth. If you find that your water solution is looking dirty, dump it and pour in some clean water and soap. There no point in rubbing dirty water into your seats!
Once you've cleaned all surfaces, including the sides of your seats that are up against your center console, it's time to clean along seams and piping if you're seats have it. I like to twist up a corner of my cloth, so I can squeeze it up against piping, or down into the creases along stitch lines.
*** I know I said that I prefer to avoid using vinegar when cleaning leather. However, you may want to consider using the 50/50 vinegar to water solution if your seats are particularly filthy. Just make sure that you test it in an inconspicuous area first!
Conditioning Leather Auto Upholstery
Now that you've finished cleaning the seats, it's time to condition them. I use Chamberlain's Auto Refreshener No. 4, as it's the best on the market in my opinion. It's important to keep your leather hydrated and supple in order to prevent cracking over time. Chamberlain's also provides UV protection for your seats, which is vital in protecting your leather from stellar radiation. I live in the deserts of Arizona, where this is particularly important.
Steps:

- The first step is to shake the bottle well, and then squirt some on the included applicator and spread it evenly around the surface of the pad. test it in an inconspicuous area, same as we did with our cleaning solution. You want to be sure that there is no color rub-off, discoloration, or any other negative effects. Now most leathers will darken a bit when conditioned, with lighter colored or dried out leather darkening the most. It will also look darker immediately after application, so give it a few minutes to settle into the leather. If you like the results, then continue on to all of the rest of the leather.

- When applying the leather conditioner, use the included pad and lay it on in thin even layers. Not applying it evenly may result in a splotchy dry. If your leather is particularly dry and thirsty, you may need to apply several coats. If you find that it's no longer absorbing the conditioner, stop applying it to avoid over-conditioning the leather. That causes it to be tacky to the touch.

- Once you've finished applying conditioner, allow the leather to air dry. If it's sitting in your garage, open the doors to allow more air flow. Once it's dried, buff off any residual conditioner on the surface of the leather with a clean cotton or microfiber cloth. If you can let it sit overnight, that will produce the best results.
How Often Should I Condition my Leather Seats?
A general rule of thumb would be from 2-3 times a year (or more if your car sits in the sun everyday). You'll be able to tell it can use some love if it starts to feel rough, starts squeaking when you move, or is visibly dry.
Check out our page of Leather Accessories that includes Leather Cleaners & Conditioners!