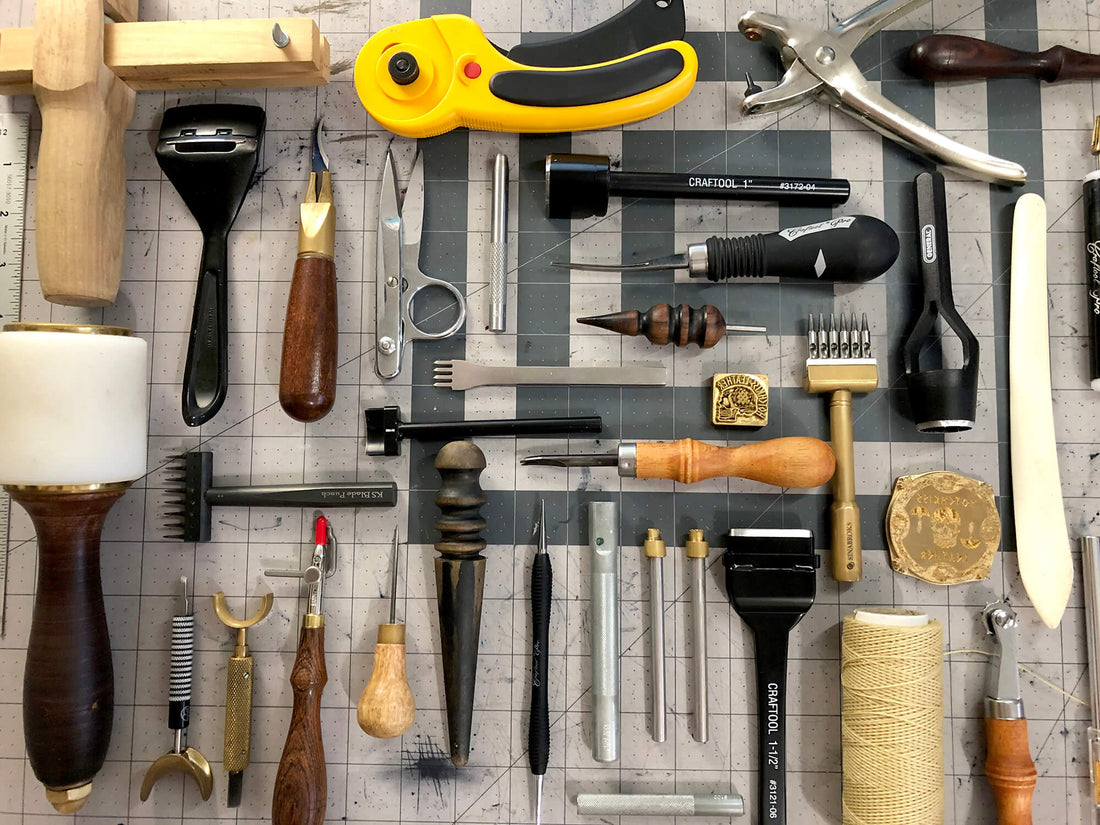
There are many different tools you can find in a leatherworker's arsenal, some of which are necessary while others are for convenience. In the article below, I detail many of the commonly used tools when creating leather goods.
______________________

The mallet is a tool that is in constant use by a leatherworker. Using a regular metal hammer will damage the punches, stamps, and other tools that require striking them. So using a hard rawhide (traditional) or synthetic mallet or maul is the way to go. There are tons of options out there for leatherworking mallets, so it's easy to find the ones that work best for you. I prefer to use a heavier weighted club style Barry King maul, because gravity works in my favor to strike hard when both punching holes or tooling artwork.

The Swivel Knife is a tool that is used to cut artwork into veg-tanned leather. There are a variety of cutting tip shapes and angles, which is a matter of what the leatherworker prefers for the various cuts they'll do when creating their artwork. The top of the knife features a crutch-type piece that you place your finger onto, while your other fingers control the blade tip by holding and rotating the barrel of the knife as you cut. Cuts are made only partially through the leather at varying depths to alter the width and appearance of the cut. One of my favorite swivel knives is my Leather Wranglers SK-3.

This is an important tool if you make a lot of belts, bags, or other accessories that need straps. The strap cutter is essentially a wood handle with to perpendicular wooden bars sandwiching a blade or razor that can be adjusted for the thickness of the leather and the width you'd like to cut. This makes it way easier to cut long straight lengths of leather, rather than measuring it out with a ruler.

There are lots of options available when it comes to cutting the leather pieces needed for a project. One of the most common ones is the round knife, where the large blade is shaped in a half circle. This enables you to more easily change the angle or direction as you make long cuts. Other styles include various short bladed knives for making smaller & tighter cuts. I have a hawk-billed knife that works great for just this purpose. Lots of us use a variety of razors such as x-acto knives, regular razor blades, and rotary cutters when making particular cuts. No knife is the right knife for the job, it's a matter of what works best with your technique!

Tooling stamps are a staple for the leatherworker who creates artwork on their leather goods. They are used to create texture in a tooled design. The most commonly used stamp is a beveler, which creates a curve or bevel in the leather in order to accent or shape the artwork. Most often the outlines of your design are first cut with a swivel knife before any stamping is done. This is then followed with bevel stamps or other patterns to bring depth to your imagery. Some pieces may only have tool stamping to accomplish the design, such as a basketweave or other pattern covering a surface of the product. Every leatherworker has a number of Craftool stamps in their repetoire, but there are many other companies that produce unique and beautiful stamp patterns. I suggest trying as many as you can afford in order to find the ones that work best for your style.

The maker's mark is the leather artisan's signature & guarantee of quality on their products. The maker's mark will generally have the leather company's logo, or their stylized company name as it's design. I use a few variations of my logos for different applications. If you're just starting out, don't delay designing your mark. Be proud of your work and send your mark with it for people to begin to recognize.

A stitch groover is a handled tool with a small cutting implement that shaves a line in the surface of the leather for your thread to lay in once you stitch. This helps your stitch line lay more flush with the surface, especially if you use thicker thread. But this tool is not just for stitching! I like to use it for decorative borders on certain pieces.

The 2 main types of awls are a hole punching awl and a stitching awl. An awl punch creates holes in the leather at regular intervals so that you can stitch leather pieces together. A stitching awl not only punches the stitch holes, but also has an eye that can be threaded to push the stitch through at the same time. I get a lot of use out of my awl when I need to mark my leather for cuts, or if I need to expand a small hole even further.

A stitch hole punch gets a lot of use from those who hand-stitch their items. There are a couple types of stitching punches; pricking irons and hole punches. Diamond shaped & slanted punches are the most commonly used, and they punch slits at an angle which gives the sitch line an angled pattern. I prefer to use a round stitch hole punch on my goods. This enables me to create very straight, clean stitch lines. It also minimizes the chance for the leather to rip with use over time. When leather is punched and the ends of the slits end at a point, the leather is more prone to tear. When a round hole is punched out of the leather, there is no single point in the hole that any stress is focused and energy is distributed more evenly around the hole.
Other punches include larger hole punches for different hardware to be mounted. It's good to have a full set of different diameters on hand to handle anything you need. Another type of punch can be used to terminate straps or belts with a finished look, rather than cutting the ends to shape by hand.
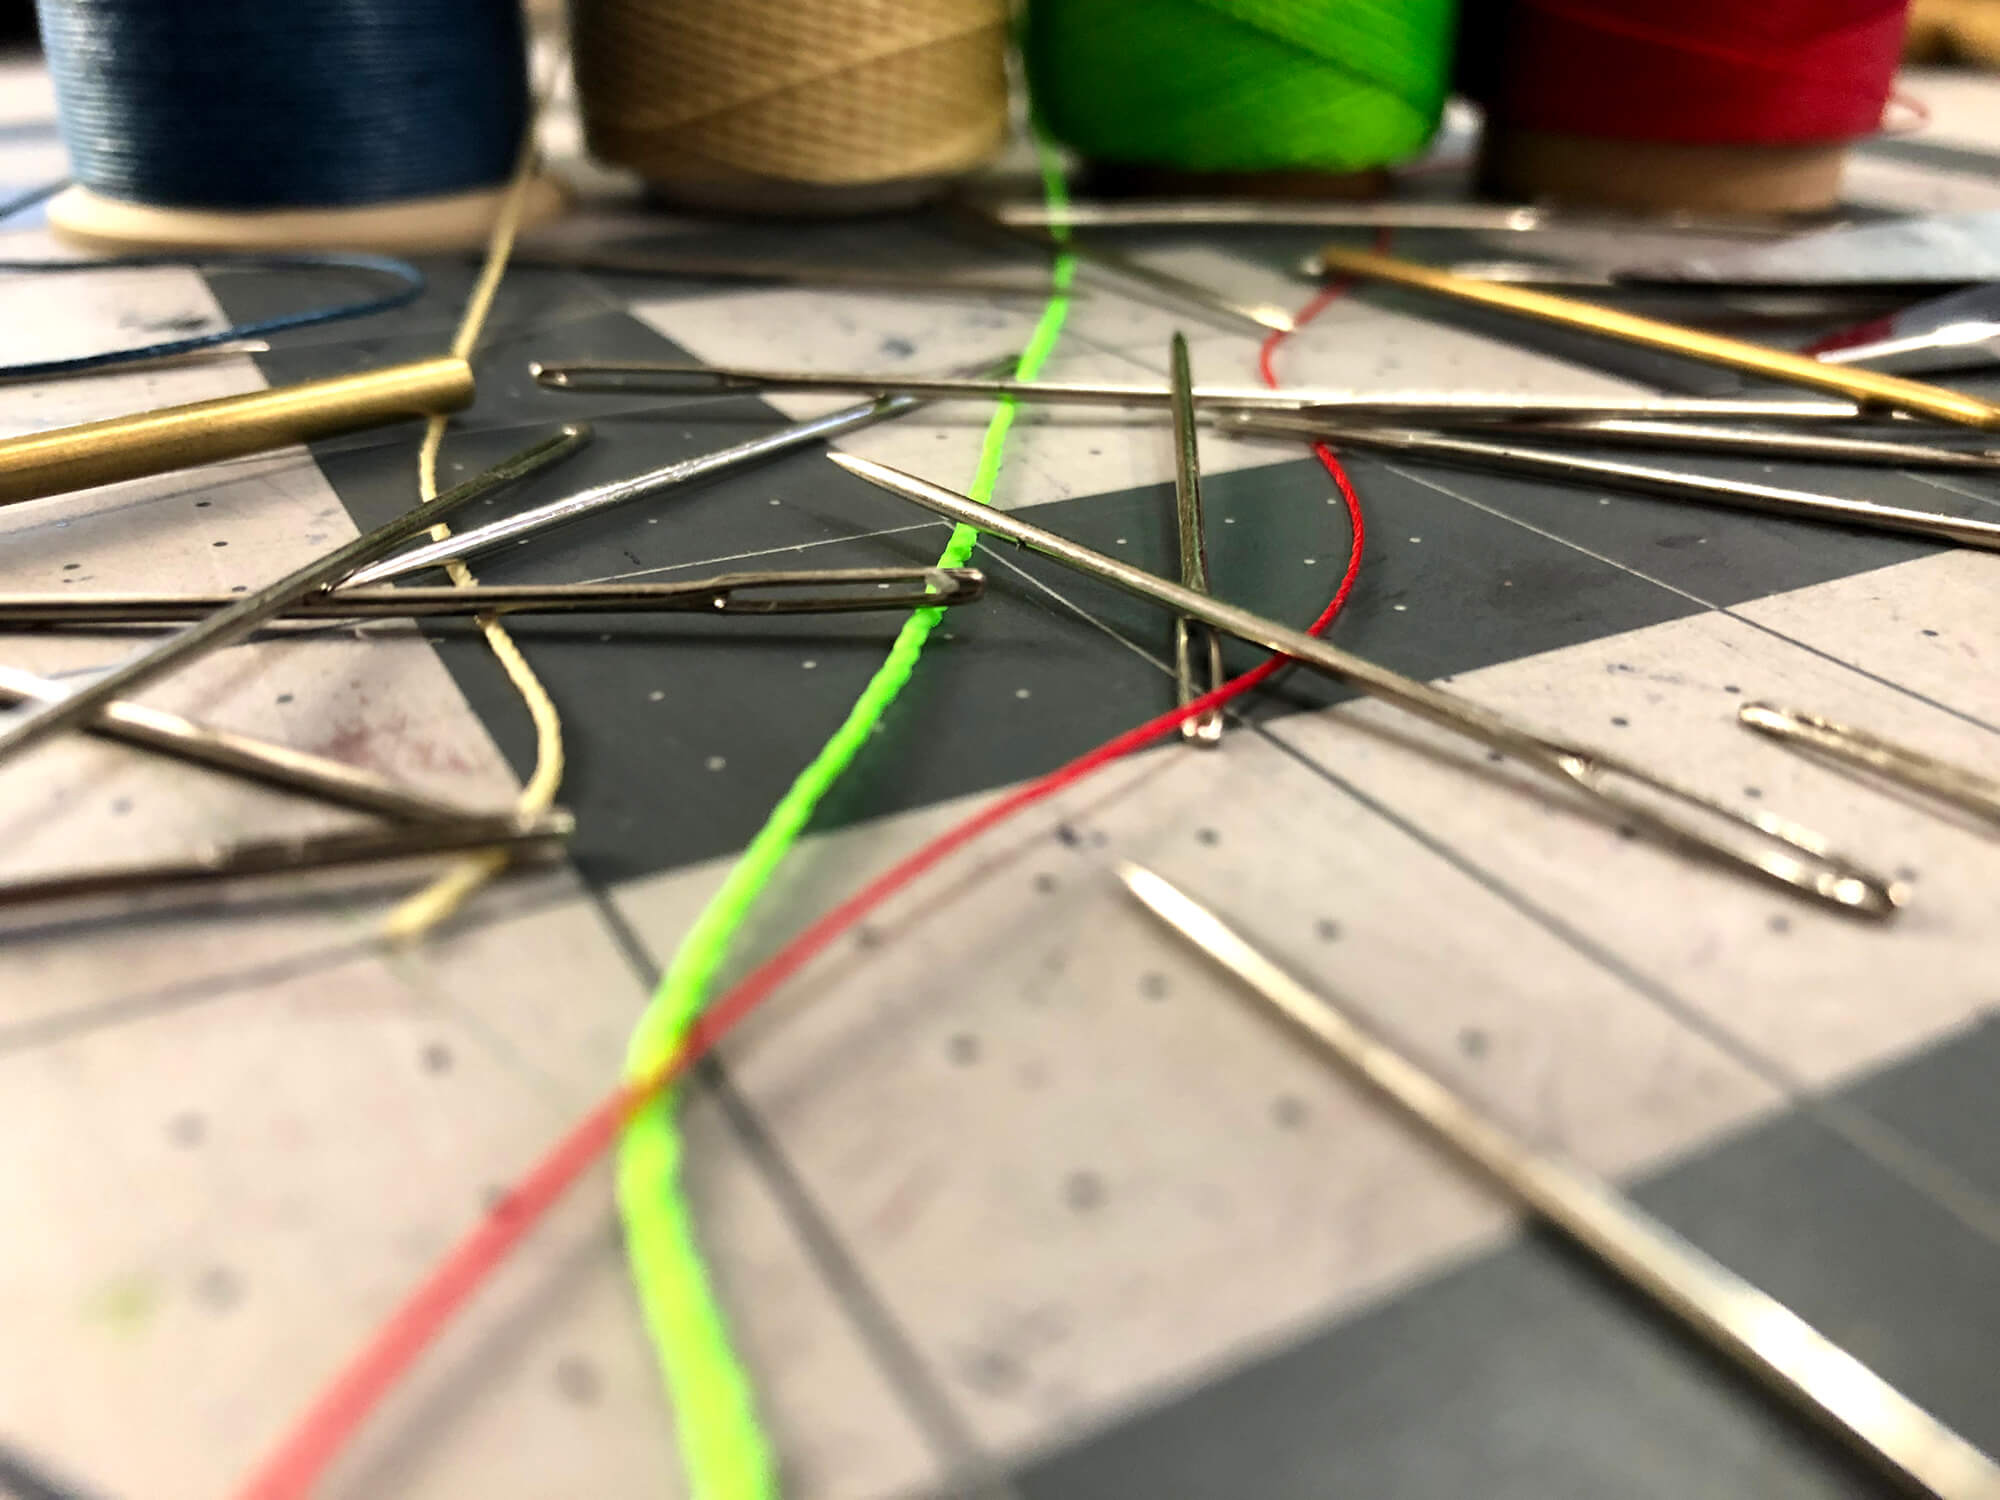
As a leatherworker you're going to spend a lot of time saddle stitching your products together (unless you use a sewing machine). Most of us use synthetic threads because of their tensile strength, and terminating your stitch with fire to melt the snipped ends to the last stitch is simple and strong. When using natural fiber threads, the only way to terminate your stitch line is by doing several back-stitches. This technique can cause a stitch to work it's way back out with heavy use. There are loads of brands, colors, and thread diameters to choose from. Find what you like and run with it!

A skiving knife is used to thin a piece of leather by cutting away on the flesh side of the hide until you reach the desired thickness. Often this is used at the edge of a leather piece where it will be stitched onto another piece. It's a great tool to have when you want to cut down on bulk that builds up with multiple layers or thick leathers. There are also skife machines that roll a larger piece of leather through to thin a whole piece at once.

A beveler is used to round of a cut edge of leather in order to remove the 90-degree angle at the edge. This step is often followed up with the use of a burnisher on a finished product. You can find bevelers of different widths or shapes suited towards different leather thicknesses. I have two bevelers I use the most, one is most effective on thicker leathers and the other on thin leathers. Beveling coupled with burnishing can really clean up the look of the edges of your leather.

Burnishing leather is the process by which the edges of a leather item are smoothed and rounded giving it a nice finish. This is done by using a tool called a burnisher. It's essentially a piece of wood in the shape of a tapered dowel with various rounded grooves circling it of varying widths. When burnishing, you rub the tool across the edge of your leather within a groove that is best suited for the thickness. This heats the individual fibers of the leather and coaxes them into laying flat a snug giving it a smooth feel. I first dip my fingertip into a cup of warm water and wet the edges. Then I burnish the edge until I'm satisfied with it's texture. I then apply gum tragacanth to the edge and give it another round of burnishing. This gives it a polish or shine.

When punching holes in, or tooling leather; it's important to have a rigid and un-yielding surface to work on. First off, you should start with a rigid and sturdy table to work on. You don't want to have rickety legs or a surface that will bow when hammering away on top of it. If you're punching holes through the leather, you'll first place a self-healing thick cutting board or rubber mat on the stone. This will prevent your tool tips from striking stone when it passes through the leather. No mat or board is need when tooling artwork in the leather, just the stone slab, mallet, stamps, and your grit.

Coloring leather, or tooled artwork, can really make a leather item stand out. If a leather was colored during the tanning process, then what you see is what you get. But when working with raw veg-tanned leather you have the opportunity to create your own colors for the leather and/or artwork. I use both water-based and alcohol based stains depending on the application, and I also use acrylic paints for certain artwork. Acrylic bends nicely, so you can paint it over a bend with no worries. My favorite go to is Alpha 6 Corporation Leather Paints.
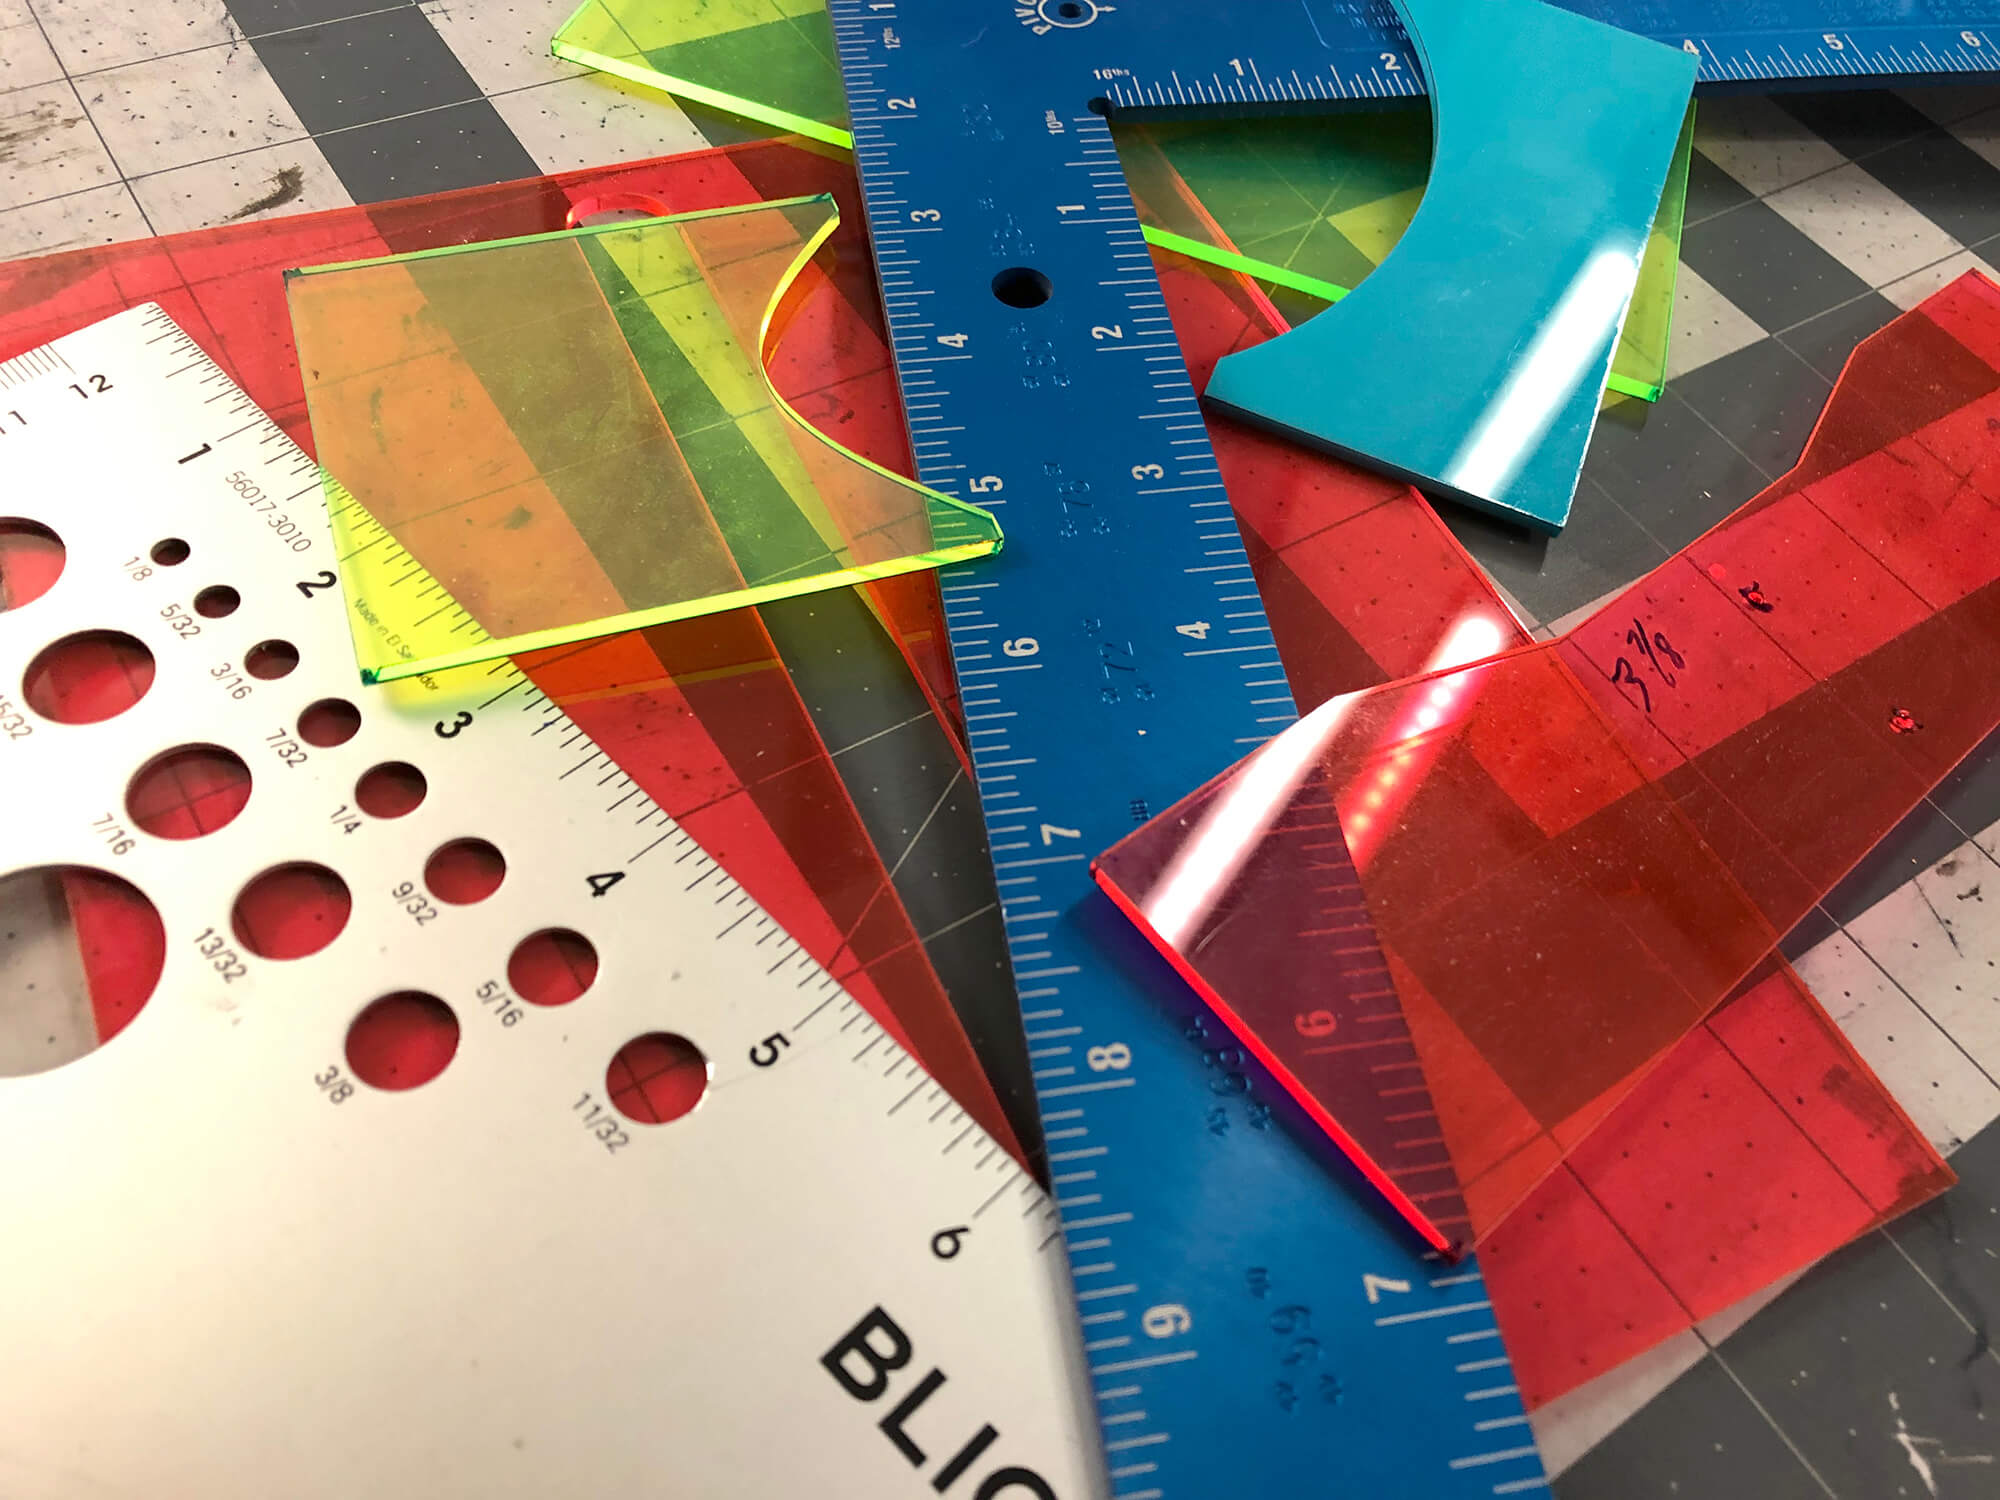
Steel or Aluminum rulers are needed for when you need to cut a straight line, or mark off the dimensions for a piece you need to cut. For several years I would measure out each piece I need by hand with rulers. This works just fine, but can eat up your time. I had sets of acrylic template pieces made for each of my custom leather wallets so that I can quickly trace each piece I need and get right to cutting. If you want to really get efficient, you can pick up a clicker press and some metal dies and punch every piece out in one fell swoop!
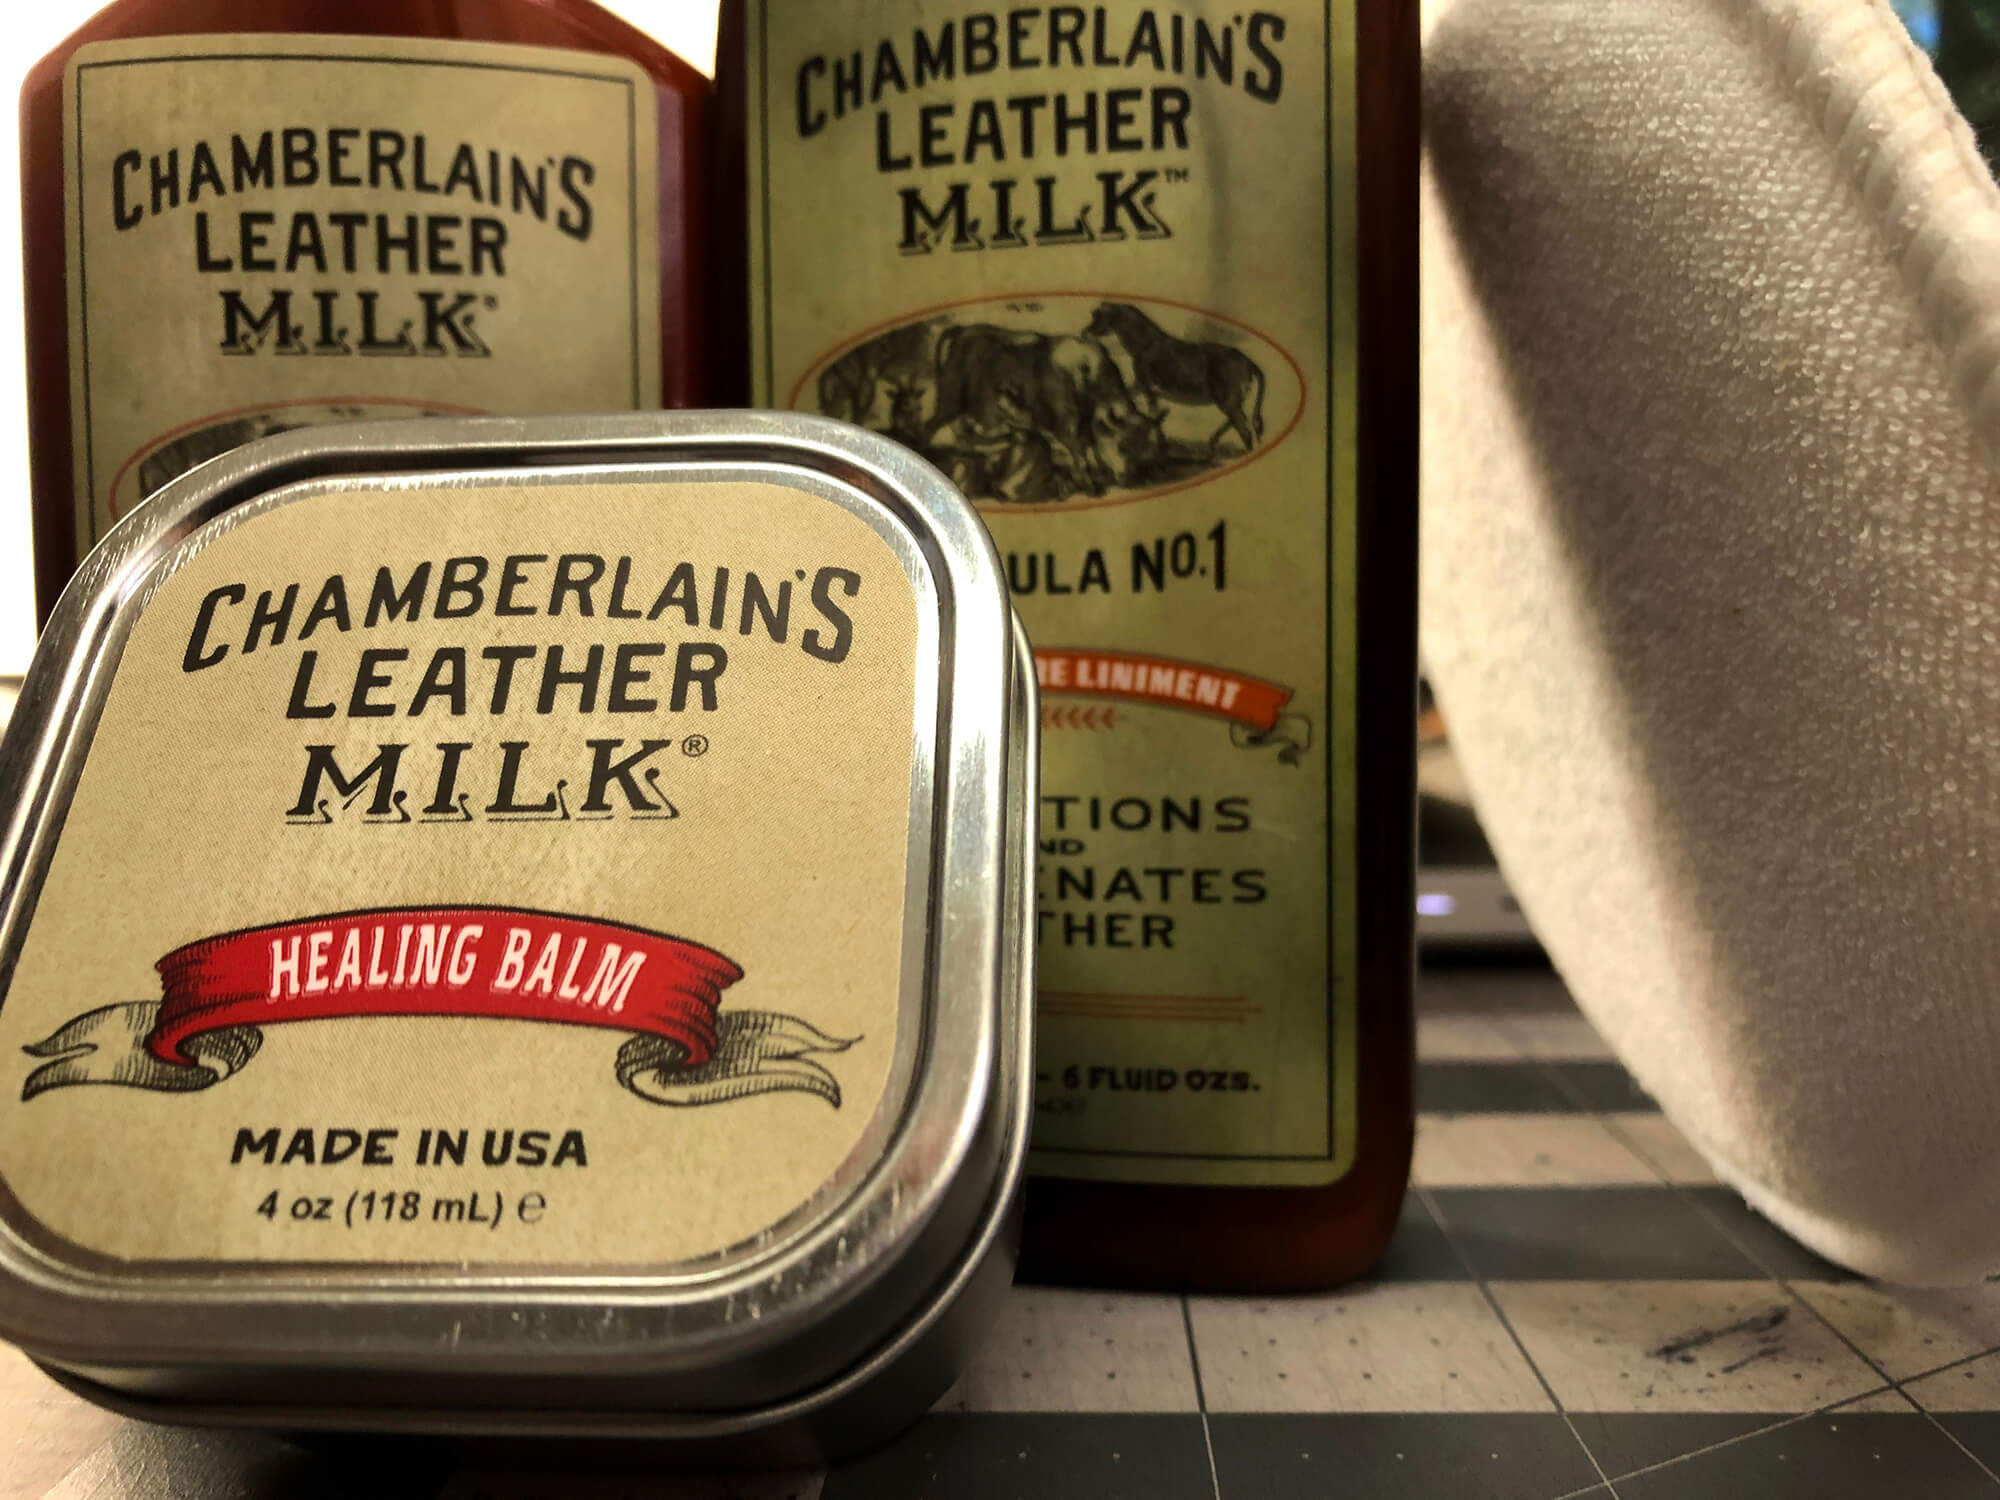
Treating your leather with a good conditioner helps to keep it hydrated, soft, and strong. I treat all my products with Leather Milk before they head out the door to my customers. If I'm working with a particularly dry type of leather, I'll oil it with neatsfoot oil to prevent cracking and the like. It's important to keep your leather goods healthy so you can continue to enjoy them for years to come. I offer several options for cleaning and conditioning your leather.

There are loads of different hardware needed to make the many items we create: Buckles, rivets, snaps, clasps, shackles, conchos, studs, d-rings, o-rings, etc. A quick search online for leather hardware will serve you many businesses to source your hardware. Once again, your choice in hardware finish or metal is up to you and the style of your work. Find what you like.

A leather stylus is essentially just like a tablet's stylus but made from metal. It's round point is about the size of a ballpoint pen tip, and is used to trace artwork into the surface of your leather.
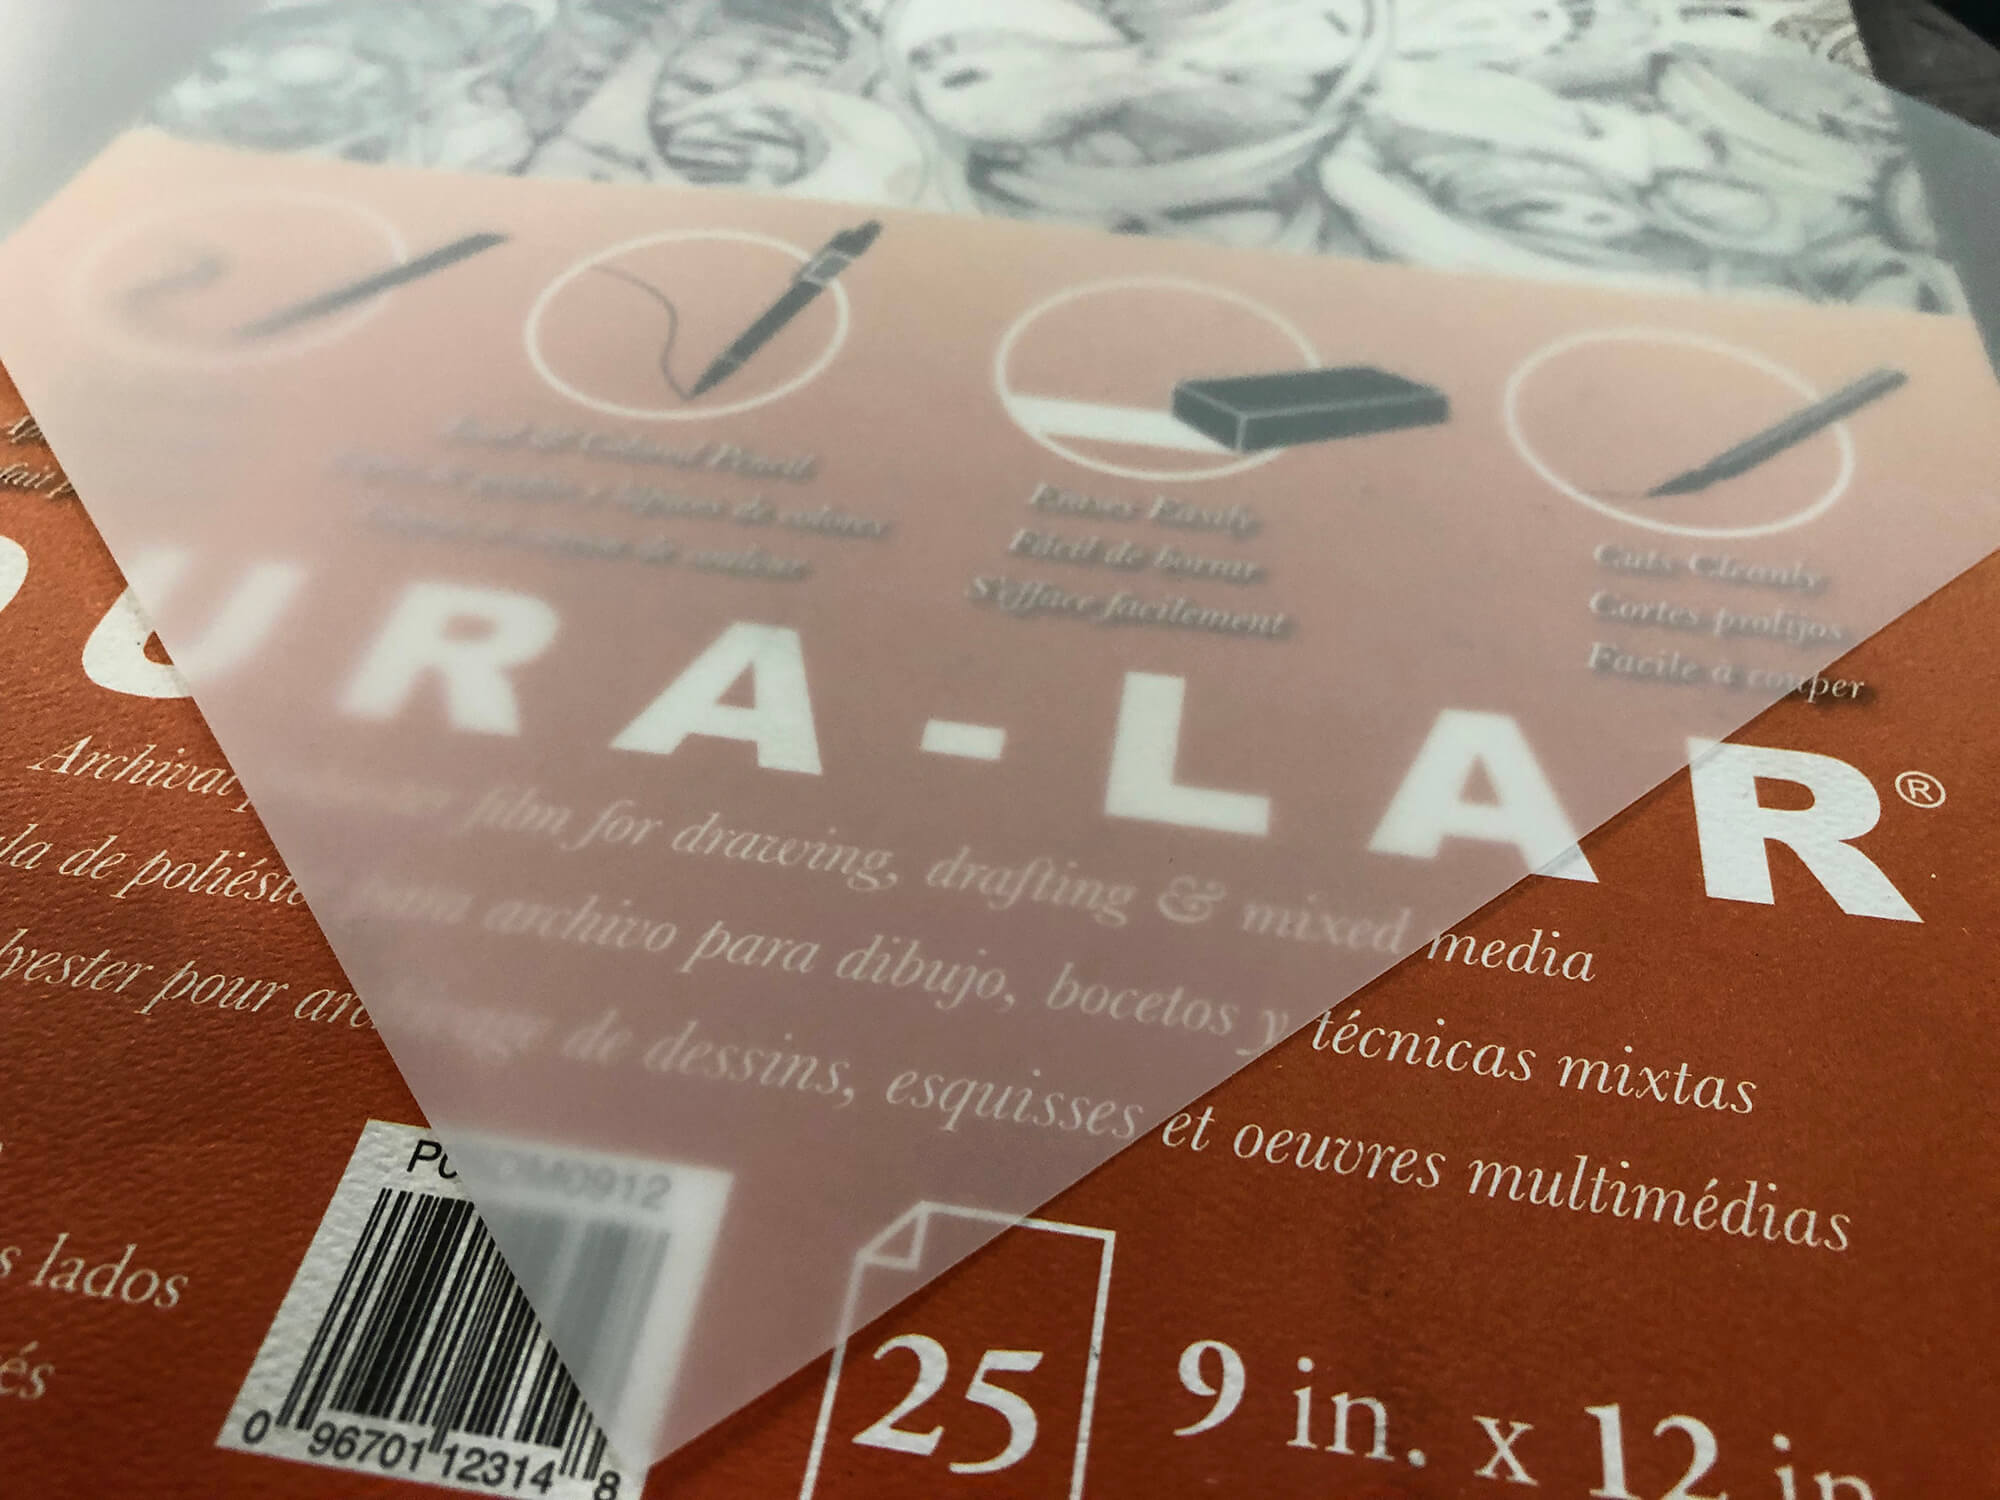
You have 2 choices when bringing artwork to life on leather. The first method is to use a soft graphite pencil and sketch the artwork directly on the leather. This is great, unless you are trying to replicate a customer's business logo, or you're working on an intricate piece. That's where the second method comes in. Using a synthetic paper like drafting film enables you to work on your artwork until you're satisfied with the design. Sketching it out directly on the film or vellum, you then secure the film on the surface of the leather. Now you can use your stylus and trace out the basic outlines of the artwork so that you have a good starting point to begin cutting. A good film or vellum will prevent the stylus from punching through to the leather. I pick up mine at a local art store.

Certain leather hardware requires setters to join or secure the hardware. Button snaps, rivets, and the like all require one. A hand press is excellent for accurately setting hardware in leather, but setting with a mallet and hand setter works well if you're on a budget!
______________________
There are many more specialized tools available for the leatherworker, but the list above covers all the most commonly used ones. As you learn new techniques and develop new products, you'll find the need to expand your toolkit to improve your workflow.